Symphony
Symphony is a secure enterprise collaboration application that allows employees to chat, send files, and share information securely. It was designed and sponsored by the Financial Services industry and is specifically designed to allow for monitoring and compliance management for chat type communications.
Installing Apollo Pro
The FinTech Studios Application needs to be installed through the Symphony Market. Clicking on the Apps icon in the Symphony Left Menu bar will open up the market for you to install the FinTech Studios Application
Using Apollo
Once you have installed Apollo Pro® there are many capabilities that you can take advantage of.
Pro
In Symphony 2.0, you should go to your settings and switch to the capital markets version of the user interface. That will give you access and control of Tabs and Workspaces as part of your layout.
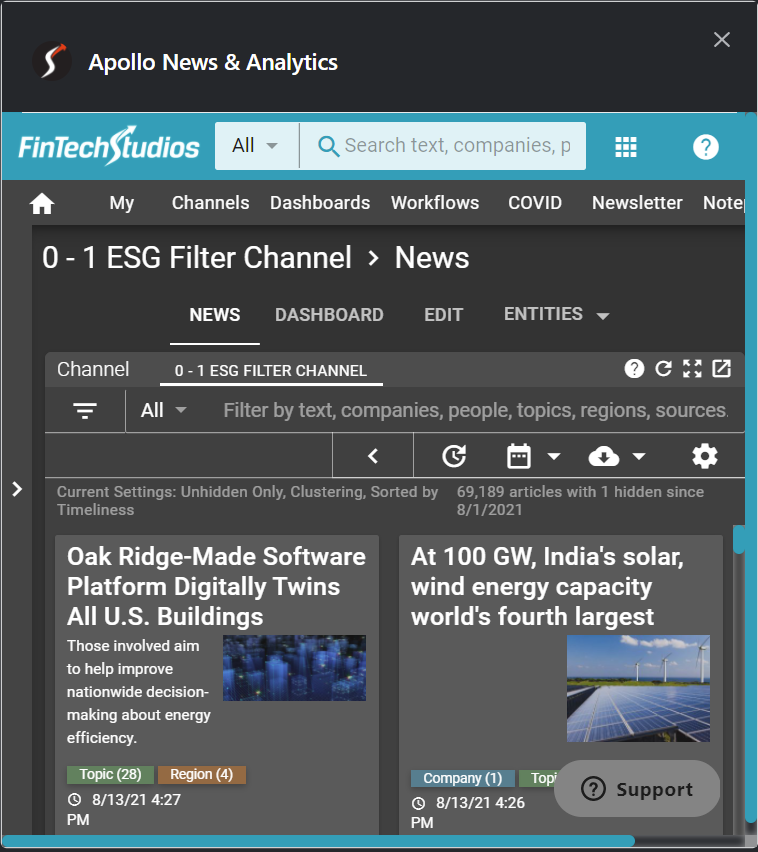
Article Sharing
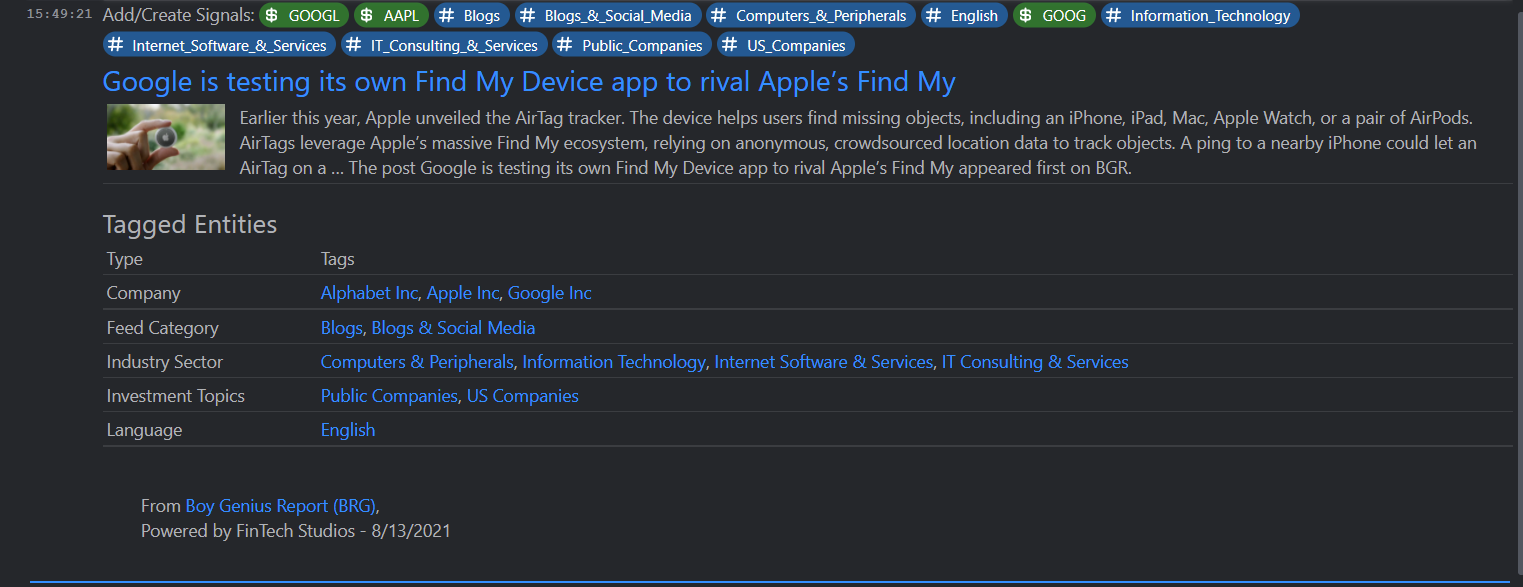
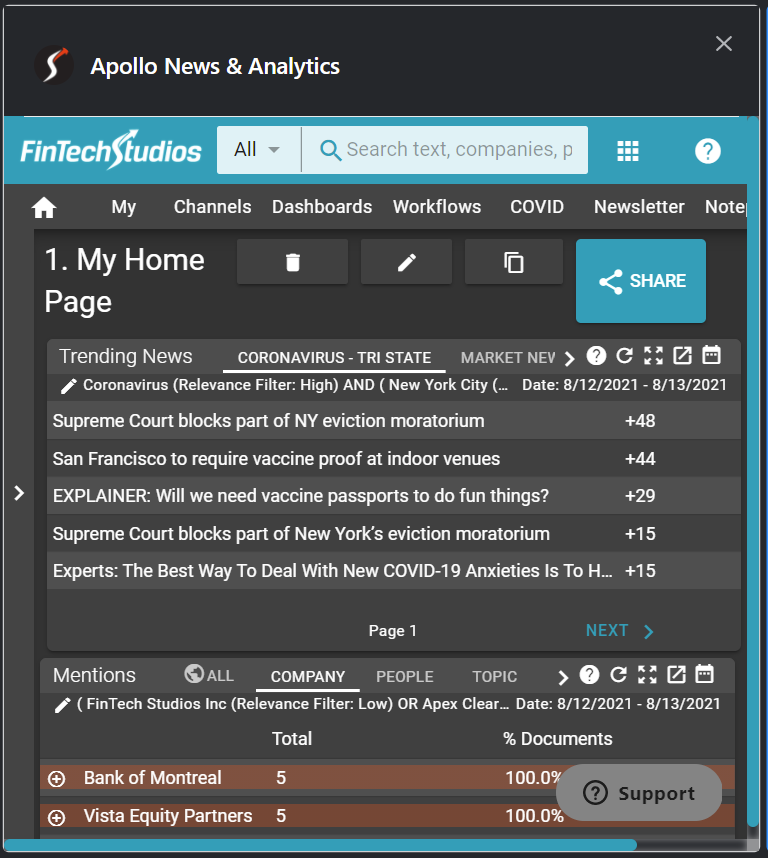
Once you have seen an interesting article, you can Share that article within Symphony by clicking on the Share Icon located in the lower right of the Article Card.
![]()
This will bring up the Symphony Share Dialogue box for you to locate the person or chat room you would like to share the article with.

Use the top box to find the person or chat room to share with and add any additional comments, including hash tags and cash tags to include with the article. Once you are finished, click on SEND to share the article.
Note
The Article Sharing functionality will automatically build a list of Hash Tags and Cash Tags along with direct links into Apollo Pro® using the Entities tagged to the article being shared. This will automatically trigger any Signals that have been set by the Symphony User receiving the shared article.
Once Shared, the article will be displayed in the Chat or Chat Room into which it was shared.
Sharing a Channel
An interesting Apollo Pro® Channel you have created can be shared with other Symphony users. In order to do that, click on the Edit tab for the channel you would like to share.
Note
A channel needs to be set to Public in order to be shared. If it is not, the Share button will not be activated.
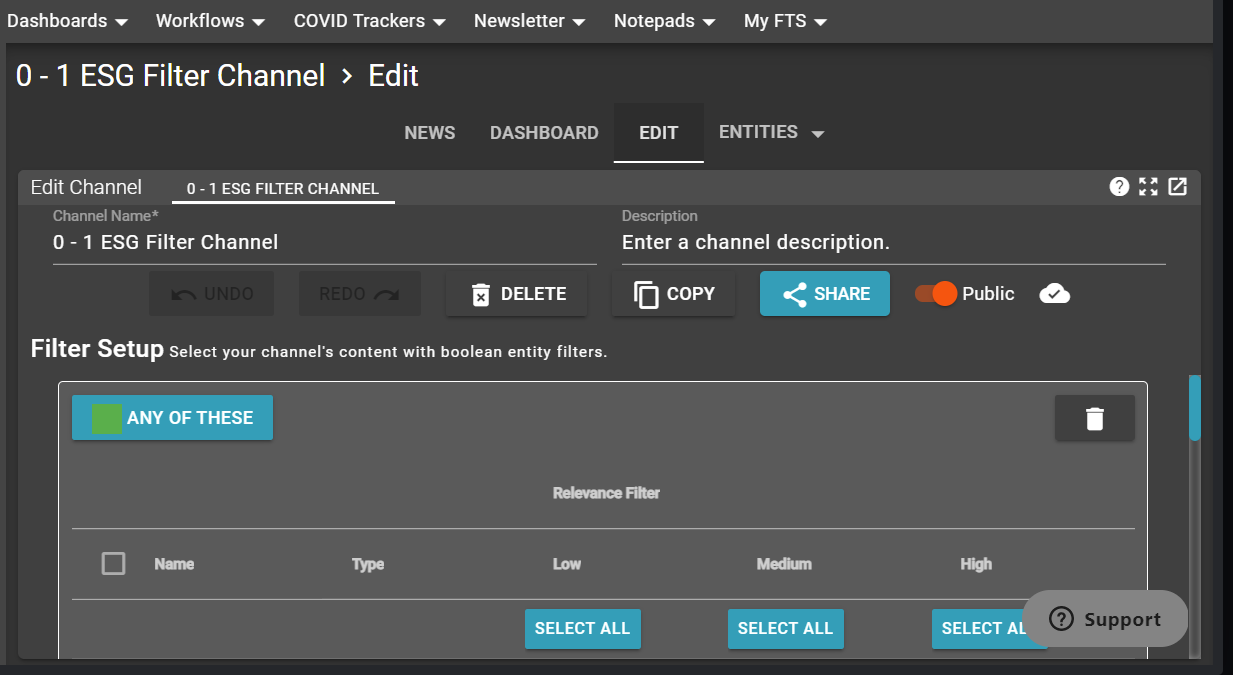
Click on the SHARE button to share within Symphony.
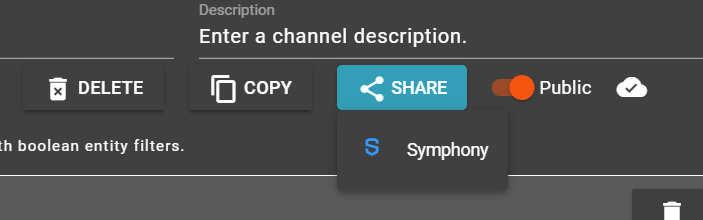
Once you see the Symphony drop down, click on it to share the channel. You will be given the Symphony Share Dialogue for the channel.
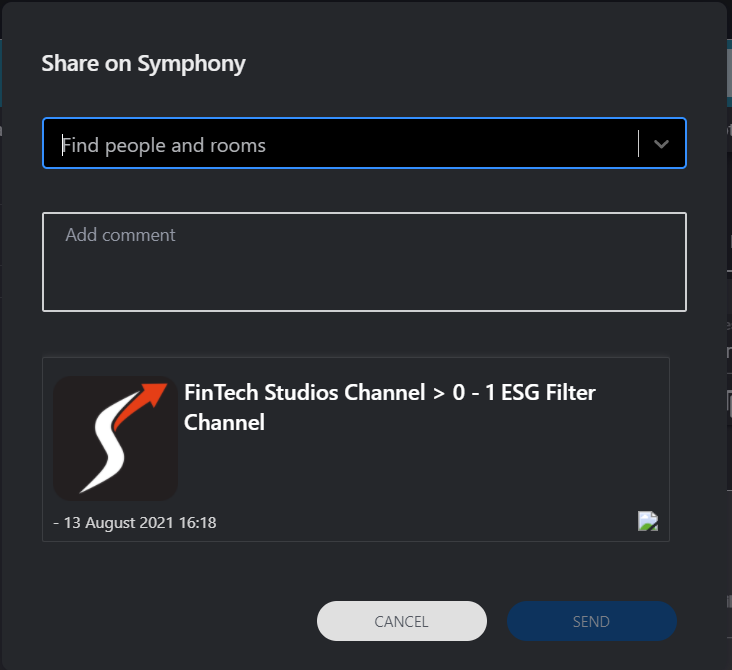
Choose the person or rooms to share with and add any comments. Once you are done click SEND.

The shared channel link will open up inside Symphony and display the shared channel.
Sharing a Dashboard
A personal dashboard can be shared within Symphony.
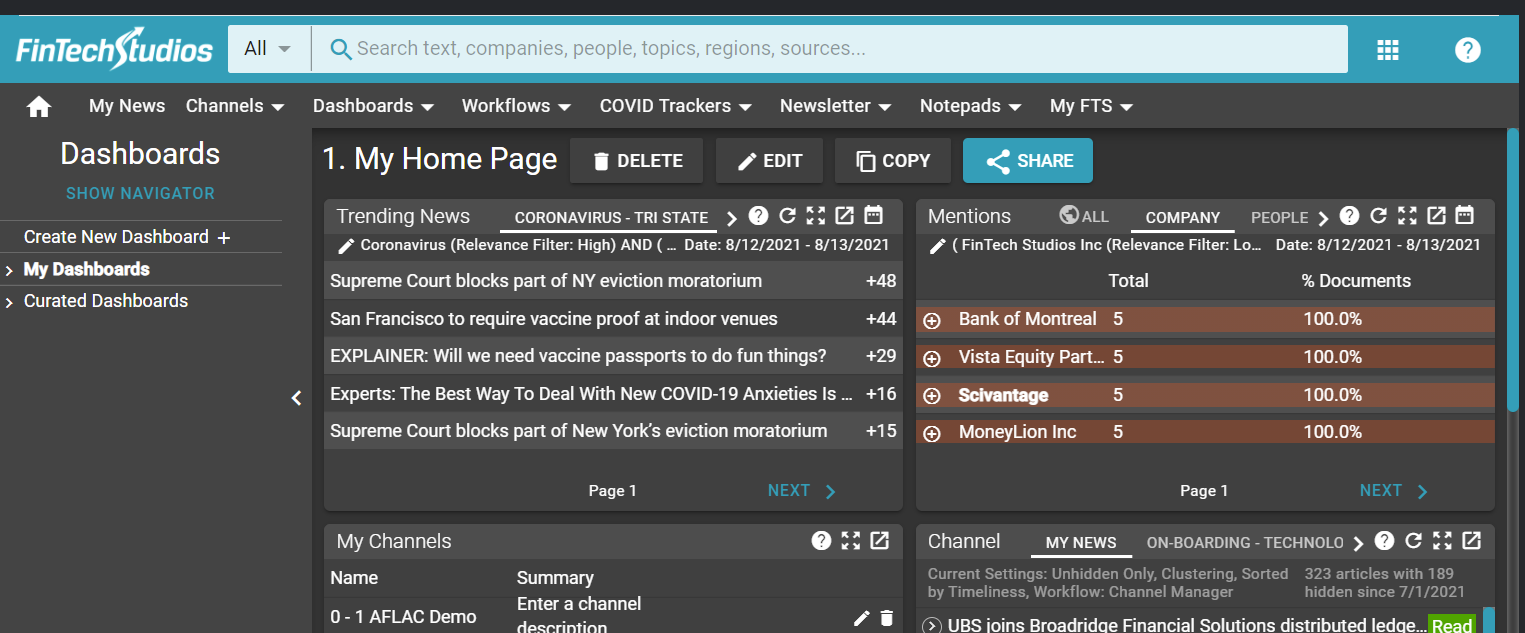
Click on the SHARE button to share a dashboard.
Note
A dashboard needs to be set to Public in order to be shared. If it is not, the Share button will not be activated. To set to public, click on EDIT and then set the public/private slider to public and save the dashboard.
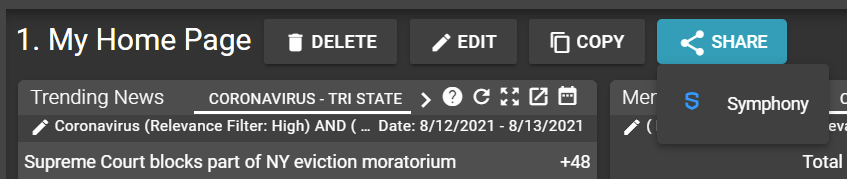
Click on Symphony in the dropdown menu to initiate the sharing dialogue.
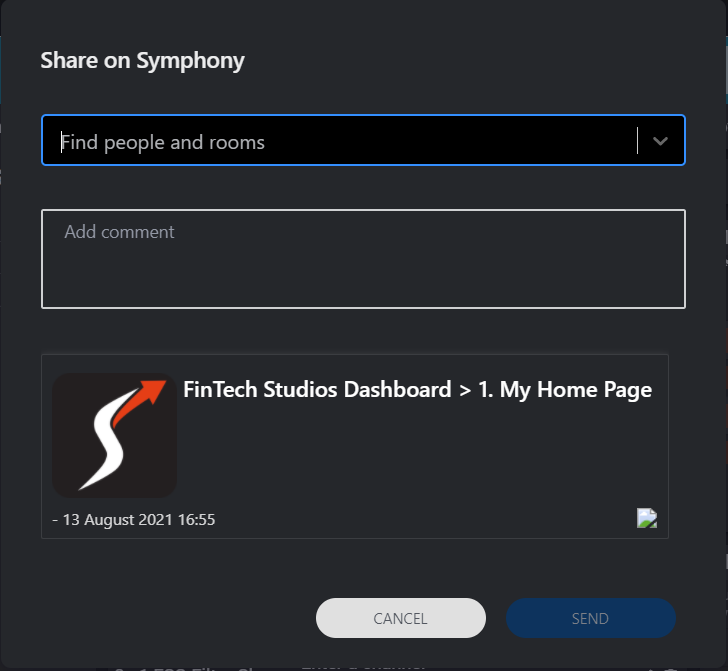
Choose the person or rooms to share with and add any comments. Once you are done click SEND.

Once you click on the link, the dashboard will open up within Symphony in its own window.
Related Symphony Concepts
Note
The information below relates to Symphony 2.0. The original Symphony UI (1.5) still works with Apollo Pro® but the more advanced concepts are only available in the new Symphony 2.0 version.
In Symphony 2.0, you should go to your settings and switch to the capital markets version of the user interface. That will give you access and control of Tabs and Workspaces as part of your layout.
Creating Tabs
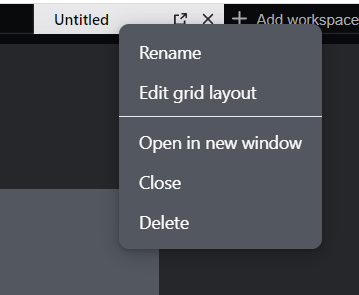
Tabs (requires the capital markets version) inside Symphony allow you to create multiple workspaces to work with. Each workspace is located on a tab. At the top of the Symphony desktop you will see Add workspace.

Once you click on Add workspace, you will be given an empty workspace.

Tip
I always just pick one of the pre-defined Grids as there are never any chats available to drag onto the new grid to get started. It doesn't matter which one as you can re-arrange the workspace later.
Once you have the grid available, click on Apps in the left menu and then FinTech Studios as the app. If you don't see FinTech Studios you will need to install it. The app will open in the new workspace. Now you can pin Apollo by clicking in the upper left corner which will keep it in the workspace. Also, once you have the workspace defined, you can re-name it by right clicking on the new tab and selecting rename.
Pinning Windows
Symphony allows you to pin a window once it is open. This will keep that window within the grid it is associated with regardless of what else is opened. Pinning is simple. In the upper left corner of the window you will find the pinning icon when the window is active.
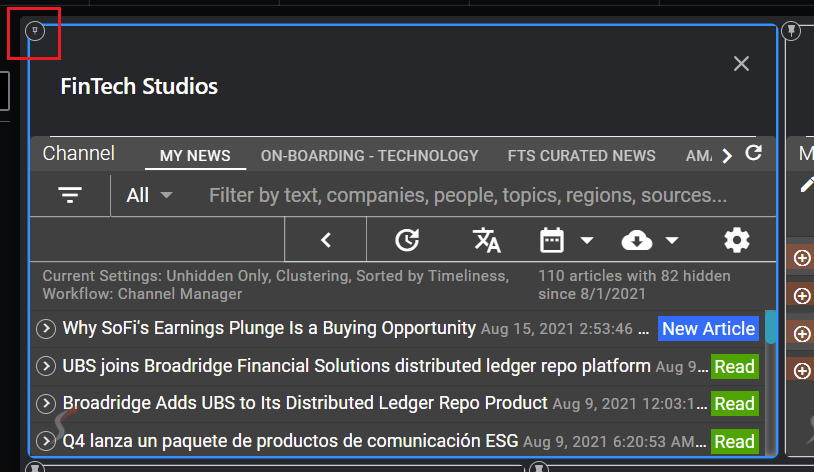
Clicking on that icon will toggle the window between pinned and unpinned. An unpinned window will be replaced by the next new window to be activated.
Workspaces
Within the Symphony environment, you can create WorkSpaces that consist of multiple pinned windows associated with a specific Tab. Workspaces are particularly useful for managing Apollo Pro® windows in that they can be used to gain access to specific shared channels or shared dashboards. In addition, you can re-create Apollo Pro® Dashboards using the widget pop-out functionality.
Home PowerIntell.AI™ Apollo Pro® RegLens®