Reference Document Editor
HOW TO USE THE REFERENCE DOCUMENT EDITOR
The FTS Reference Document Editor (Refdoc Editor) is use by the Content Team to segment all kinds of documents that have a structure (e.g., laws, act, regulations, policies, etc.). Once the document has been reviewed, it can be loaded into Apollo as reference documents in the reference library.
Step 1 – Document selection
Select a document that needs to be process in the Refdoc Editor.
Step 2 – Convert the PDF to text
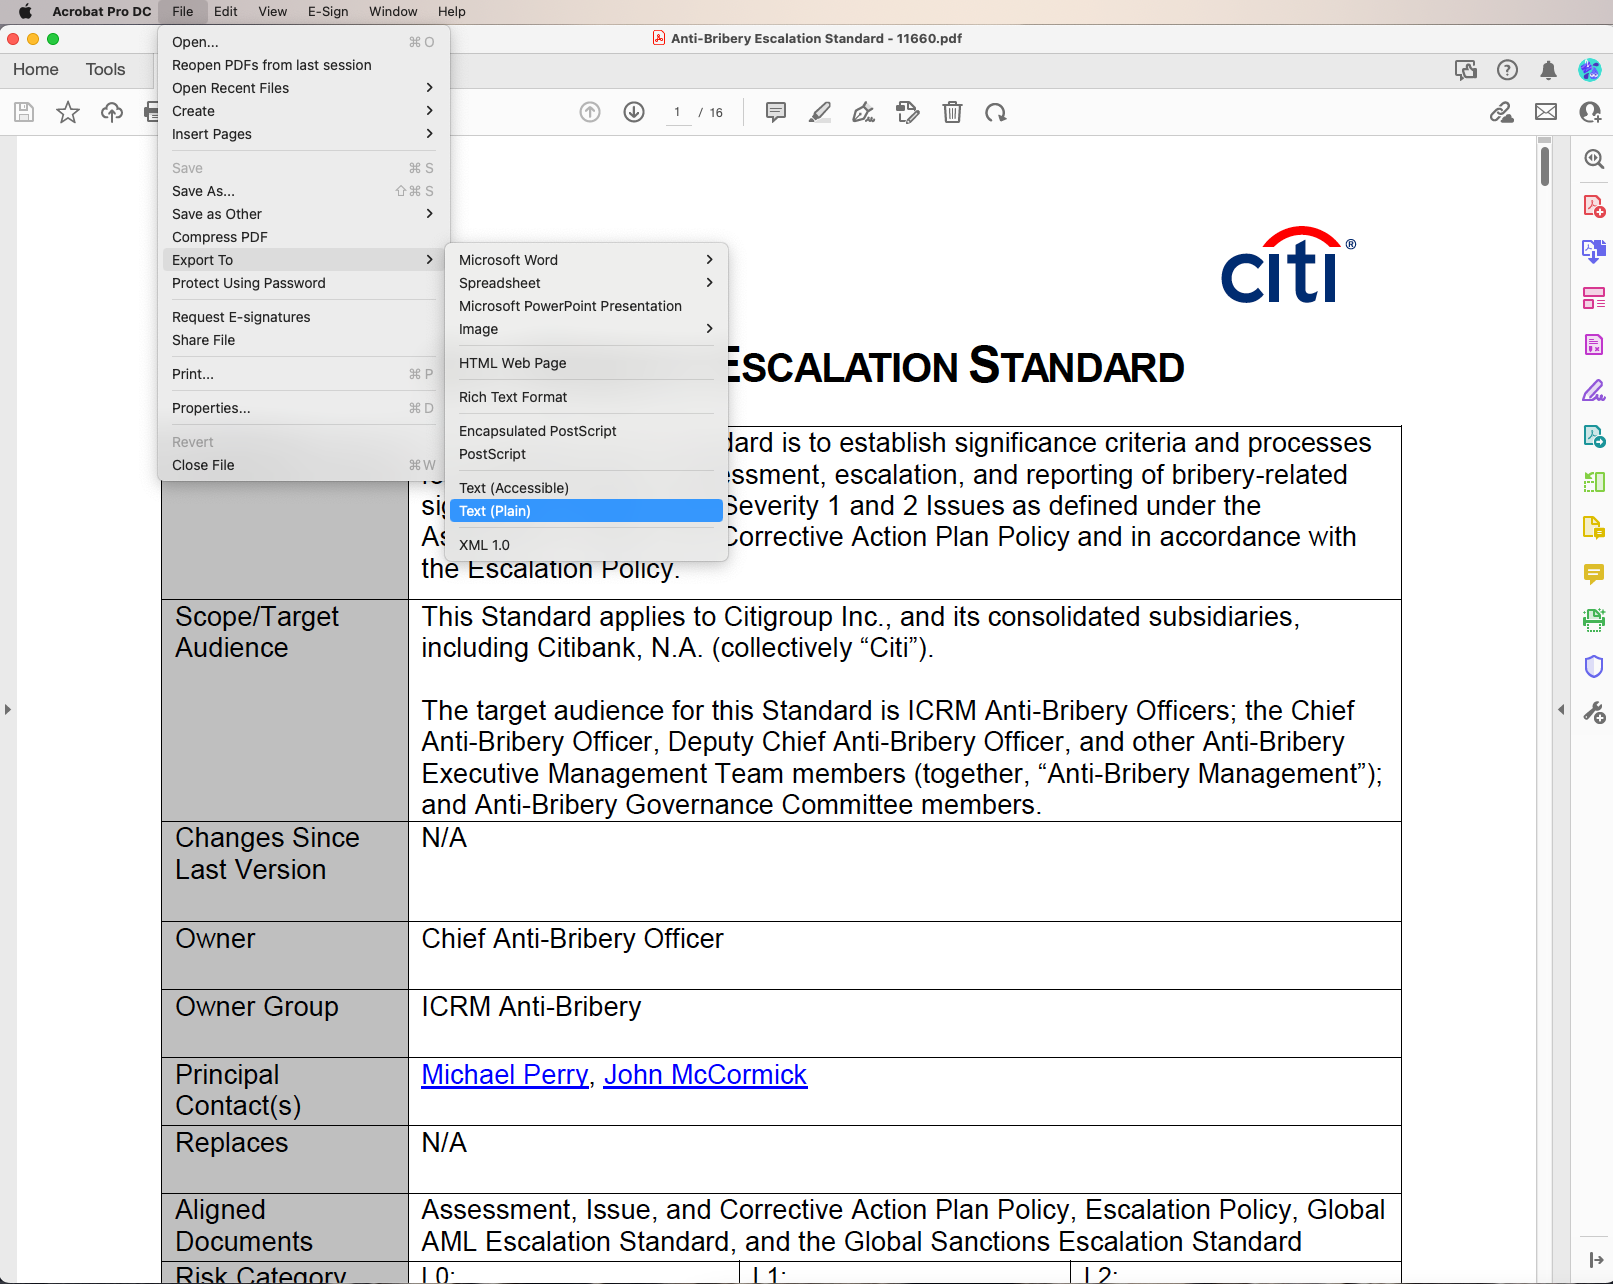
Open the selected document in Adobe Acrobat and click on File > Export to > Text (Plain).
Note
- If unable to use Adobe Acrobat, use another PDF to text converter.
- Most of the documents are PDFs but sometimes they can be in a different format (e.g. HTML or Word). Just
- Depending on the PDF format/characters sometimes is better to extract the text using File > Export to > Text (Accessible).
- Most of the documents are PDFs but sometimes they can be in a different format (e.g. HTML or Word).
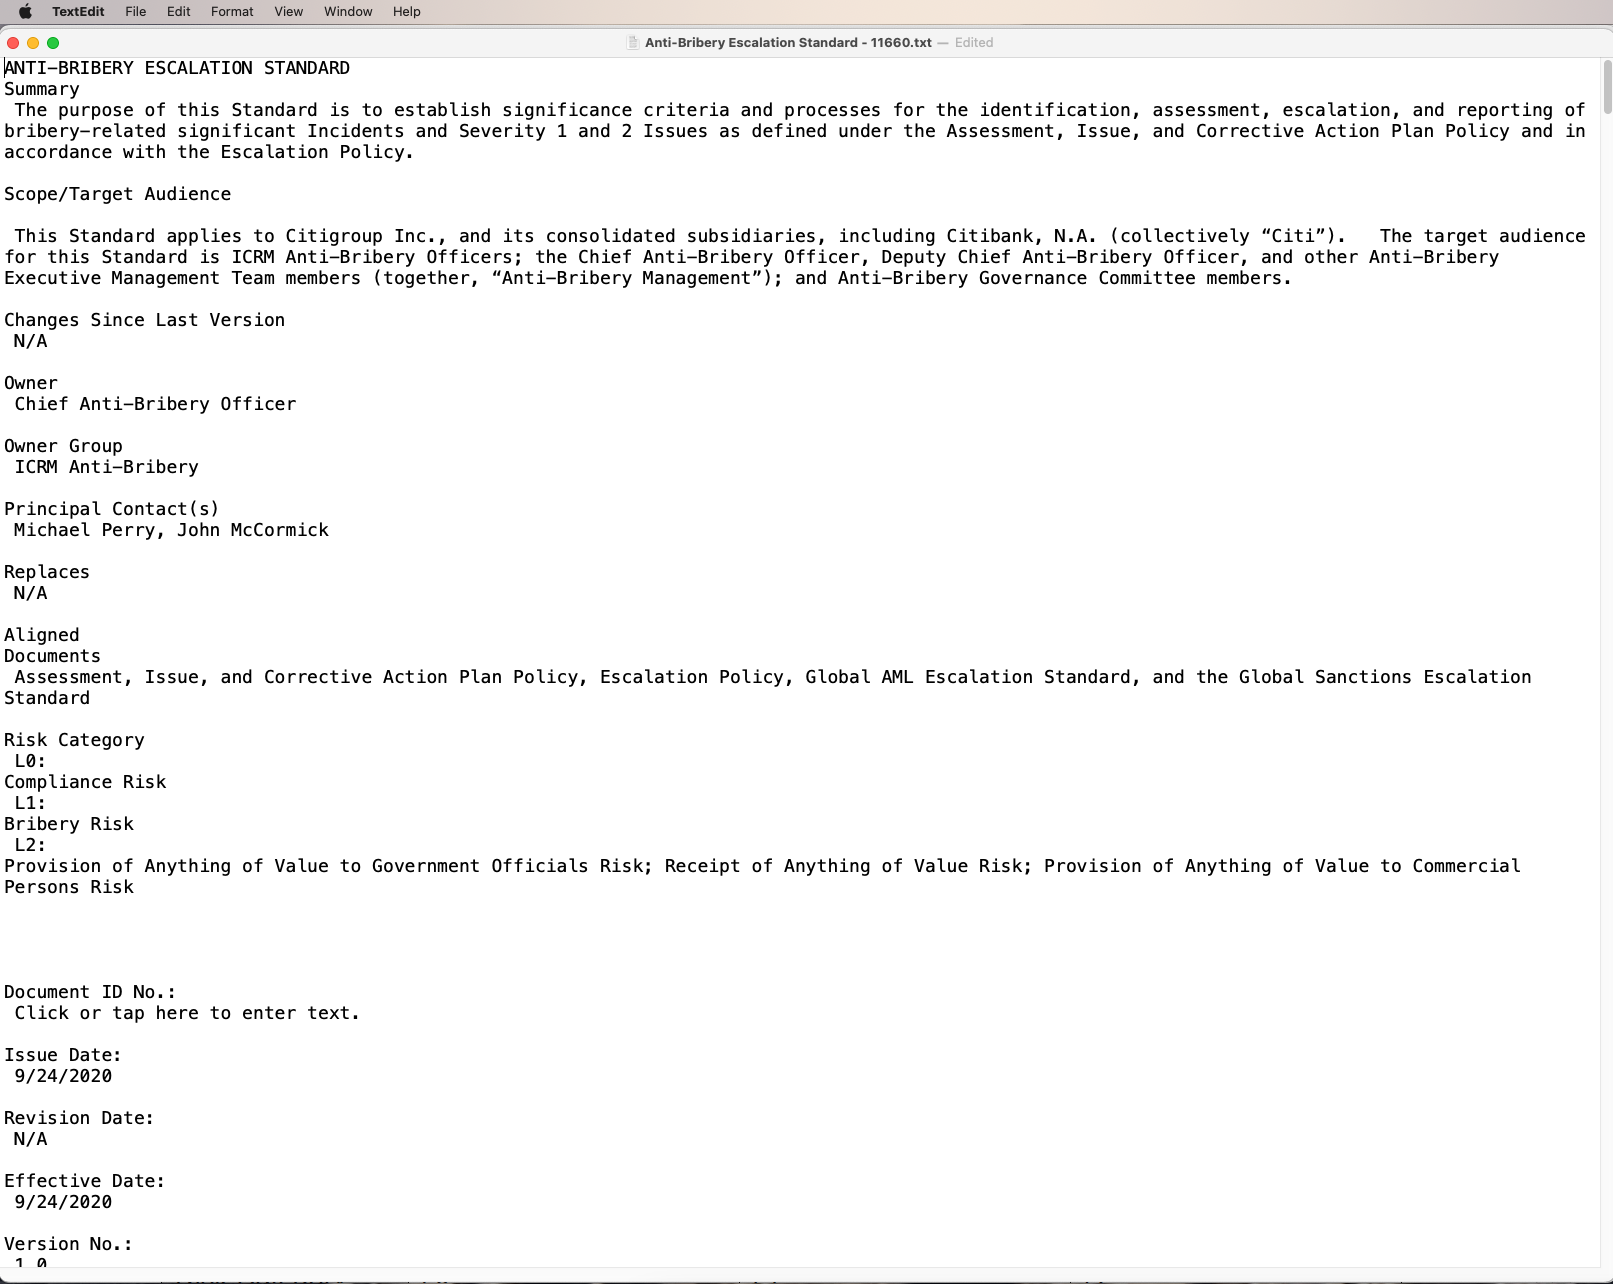
Once the PDF has been converted to text, the text version will pop-up in TextEdit/Text.
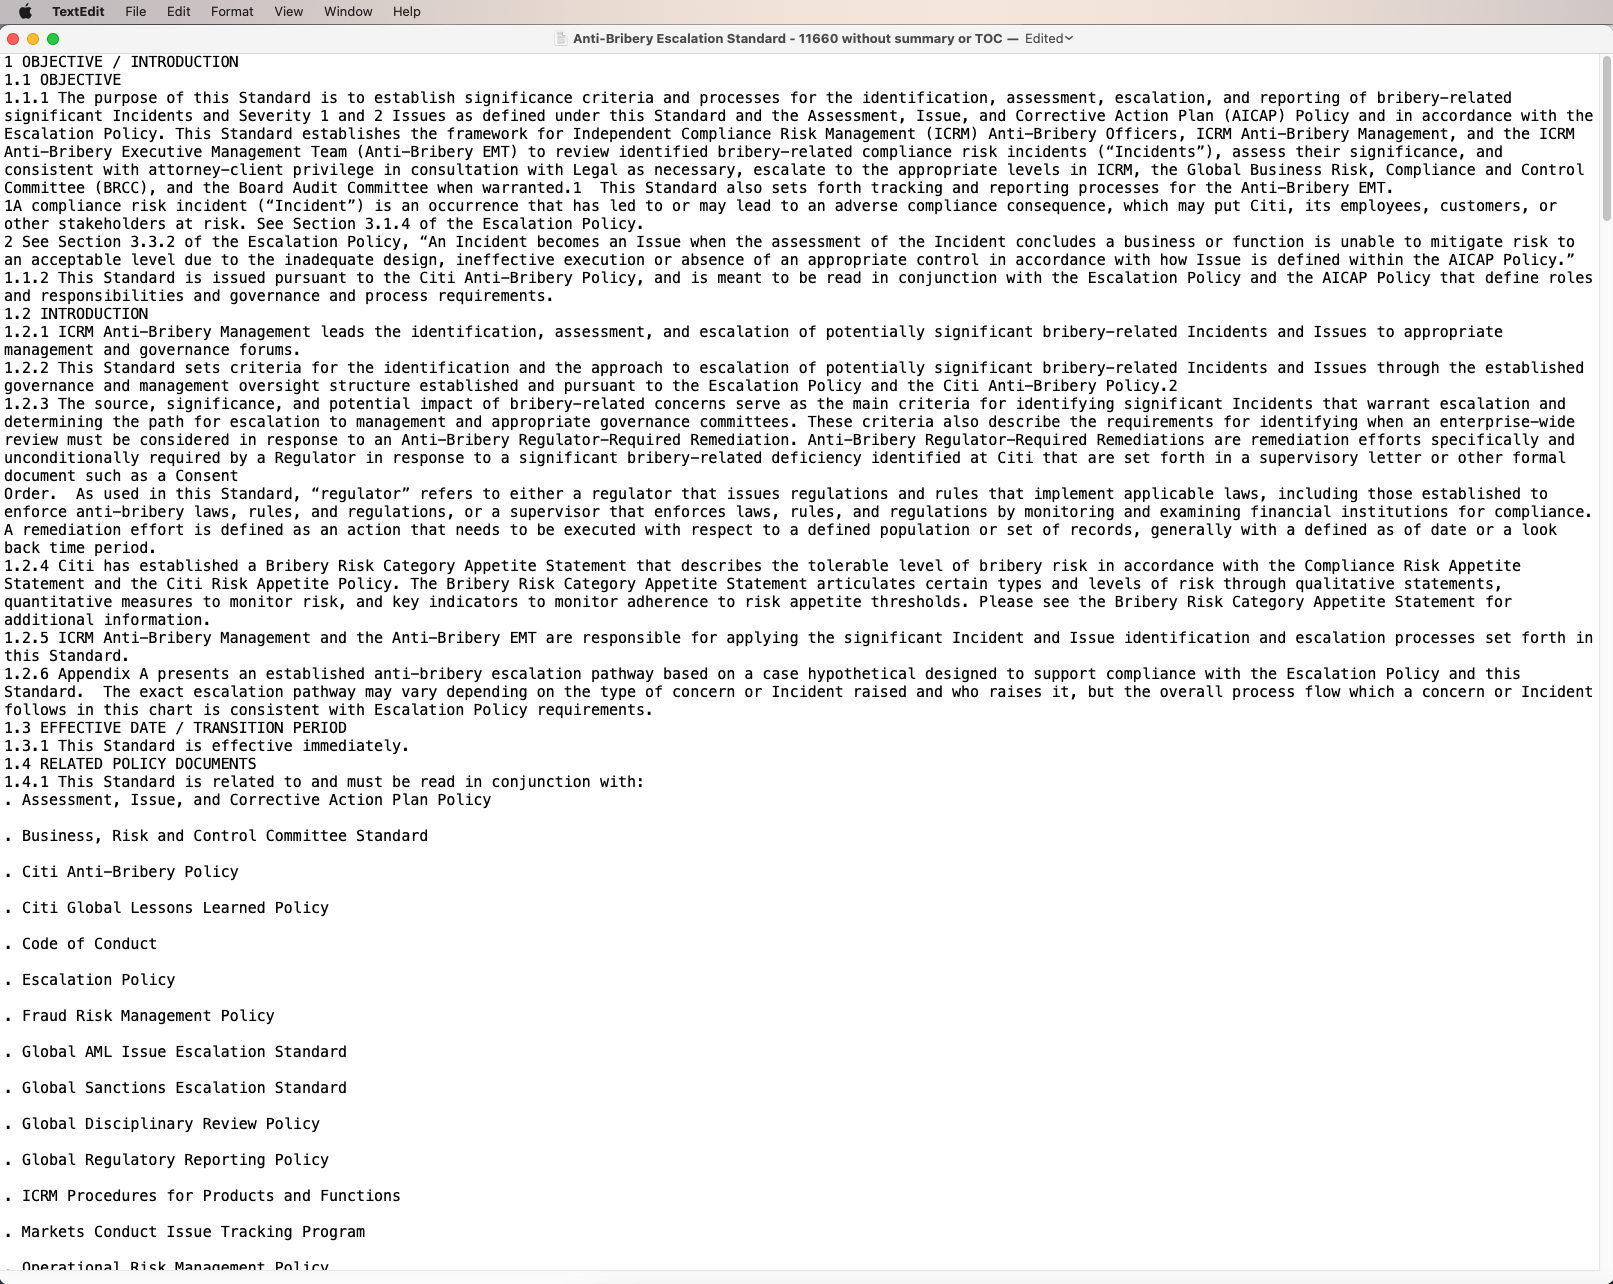
Step 3 – Delete Summary, Table of Content and Footnotes
In TextEdit/Text delete the summary, table of contents, footnotes and any other kind of information that is located before the beginning of the text that needs to be segmented. Save the text document.
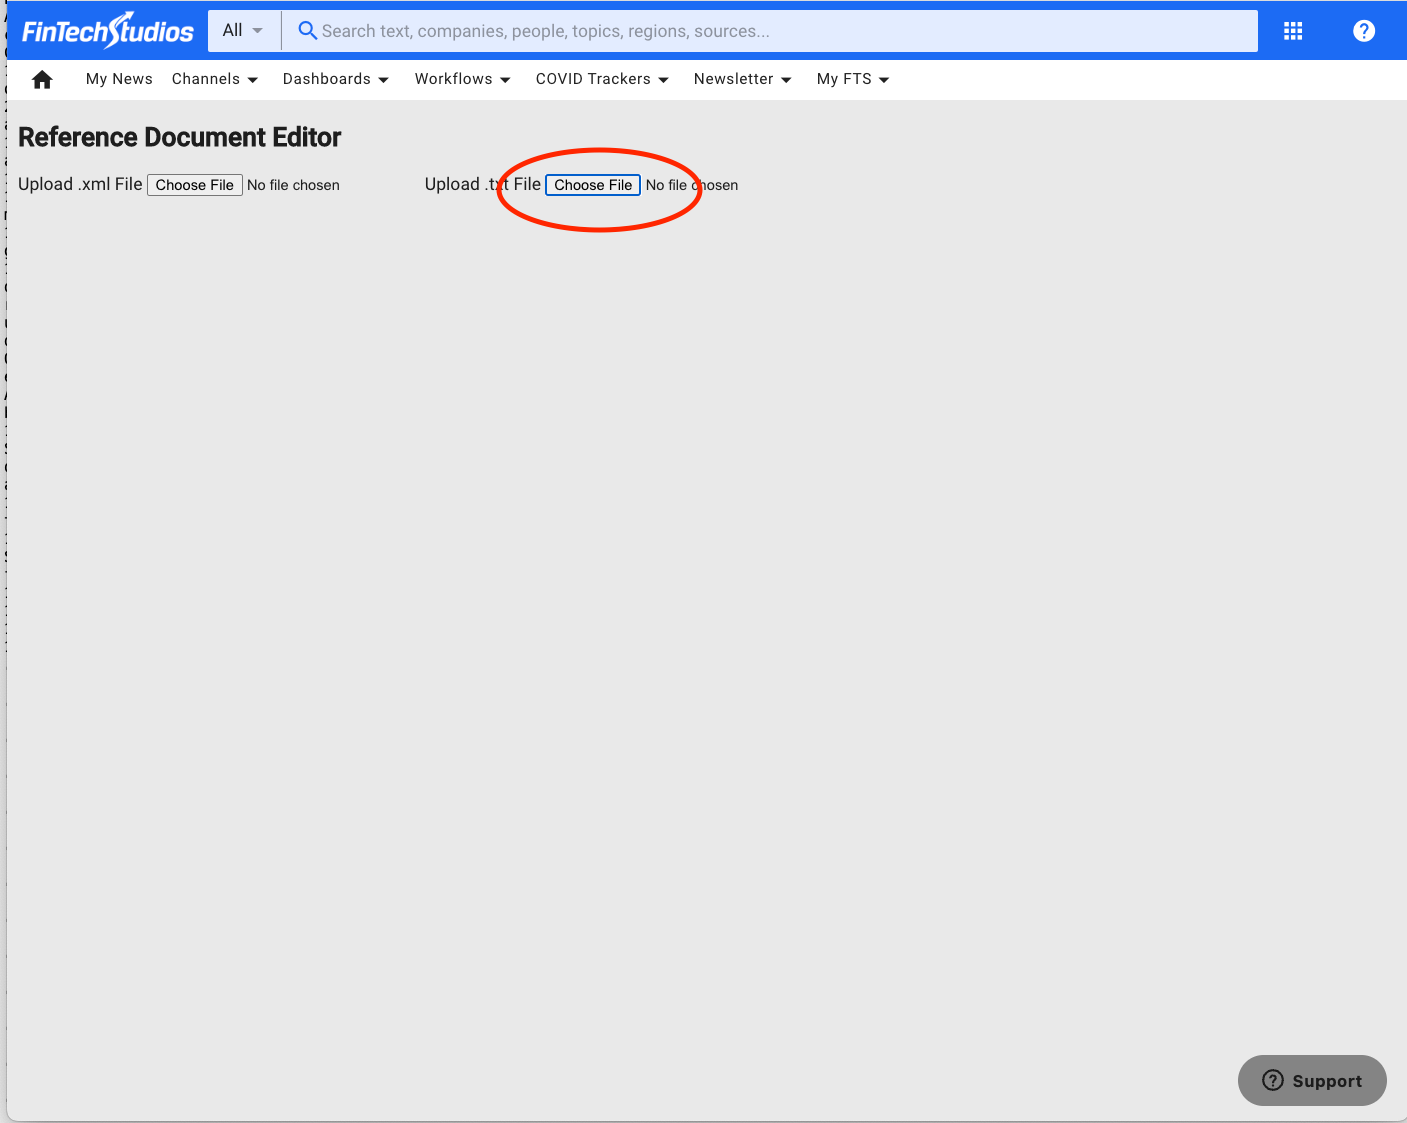
Step 4 – Load the text document to the Refdoc Editor
Go to the Refdoc Editor website: Reference Document Editor
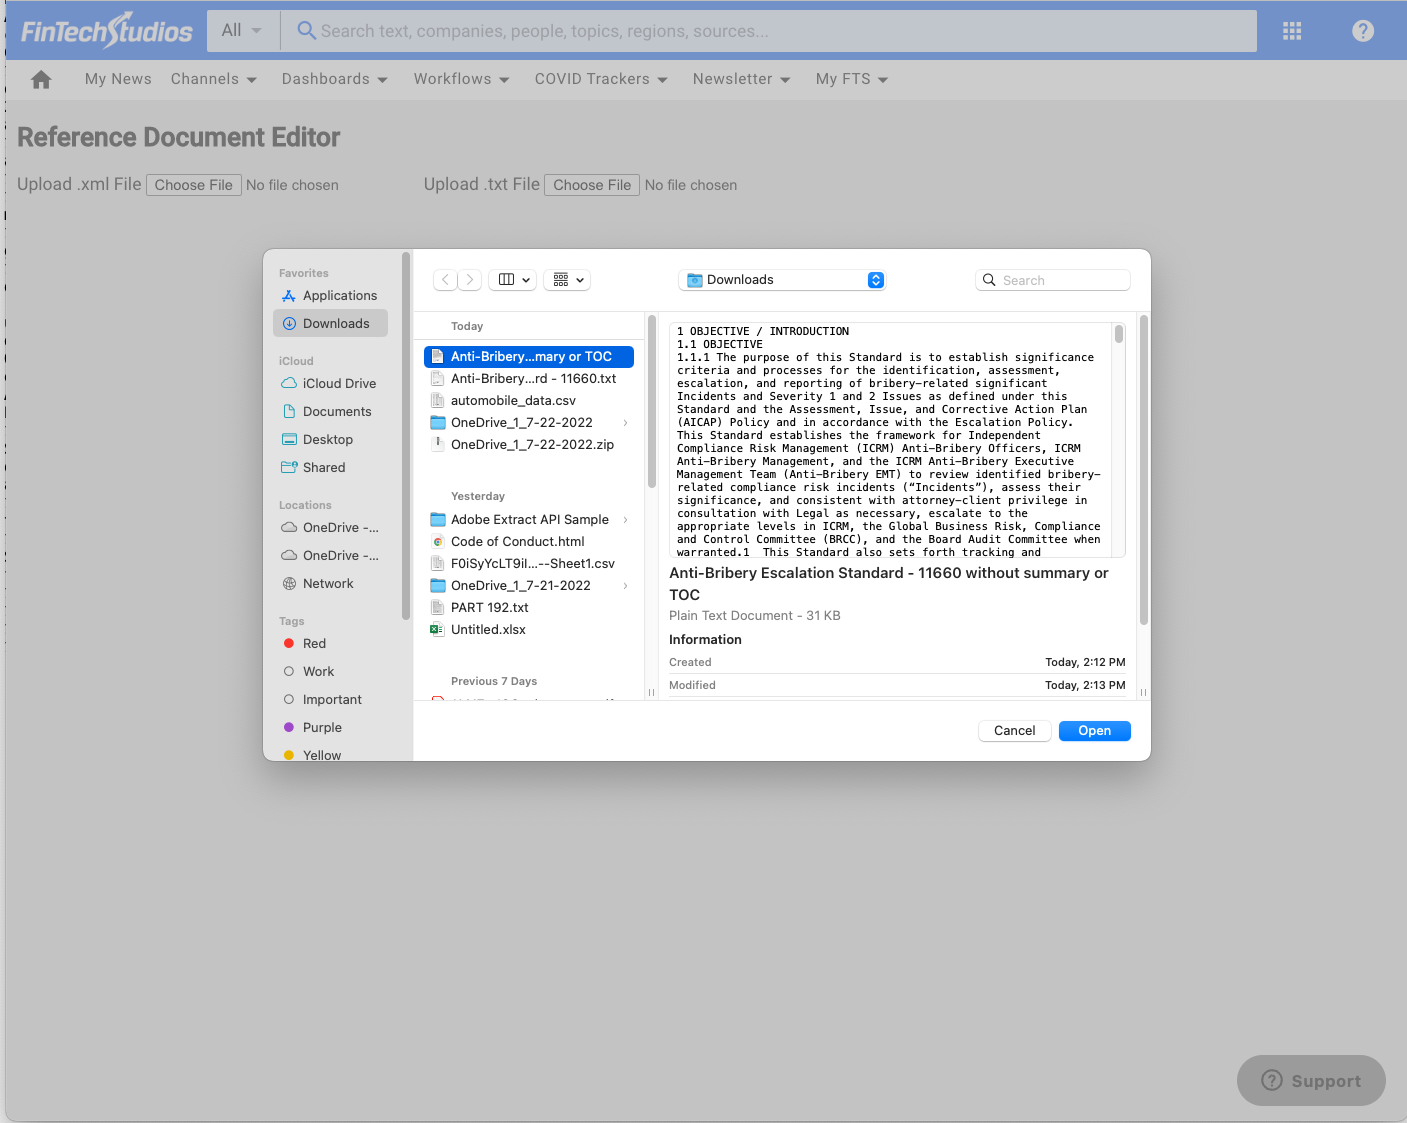
On the right side, under “Upload .txt File” click on “Choose File” and load the text file from Step 3.
Select the document that needs to be uploaded and click on “Open”
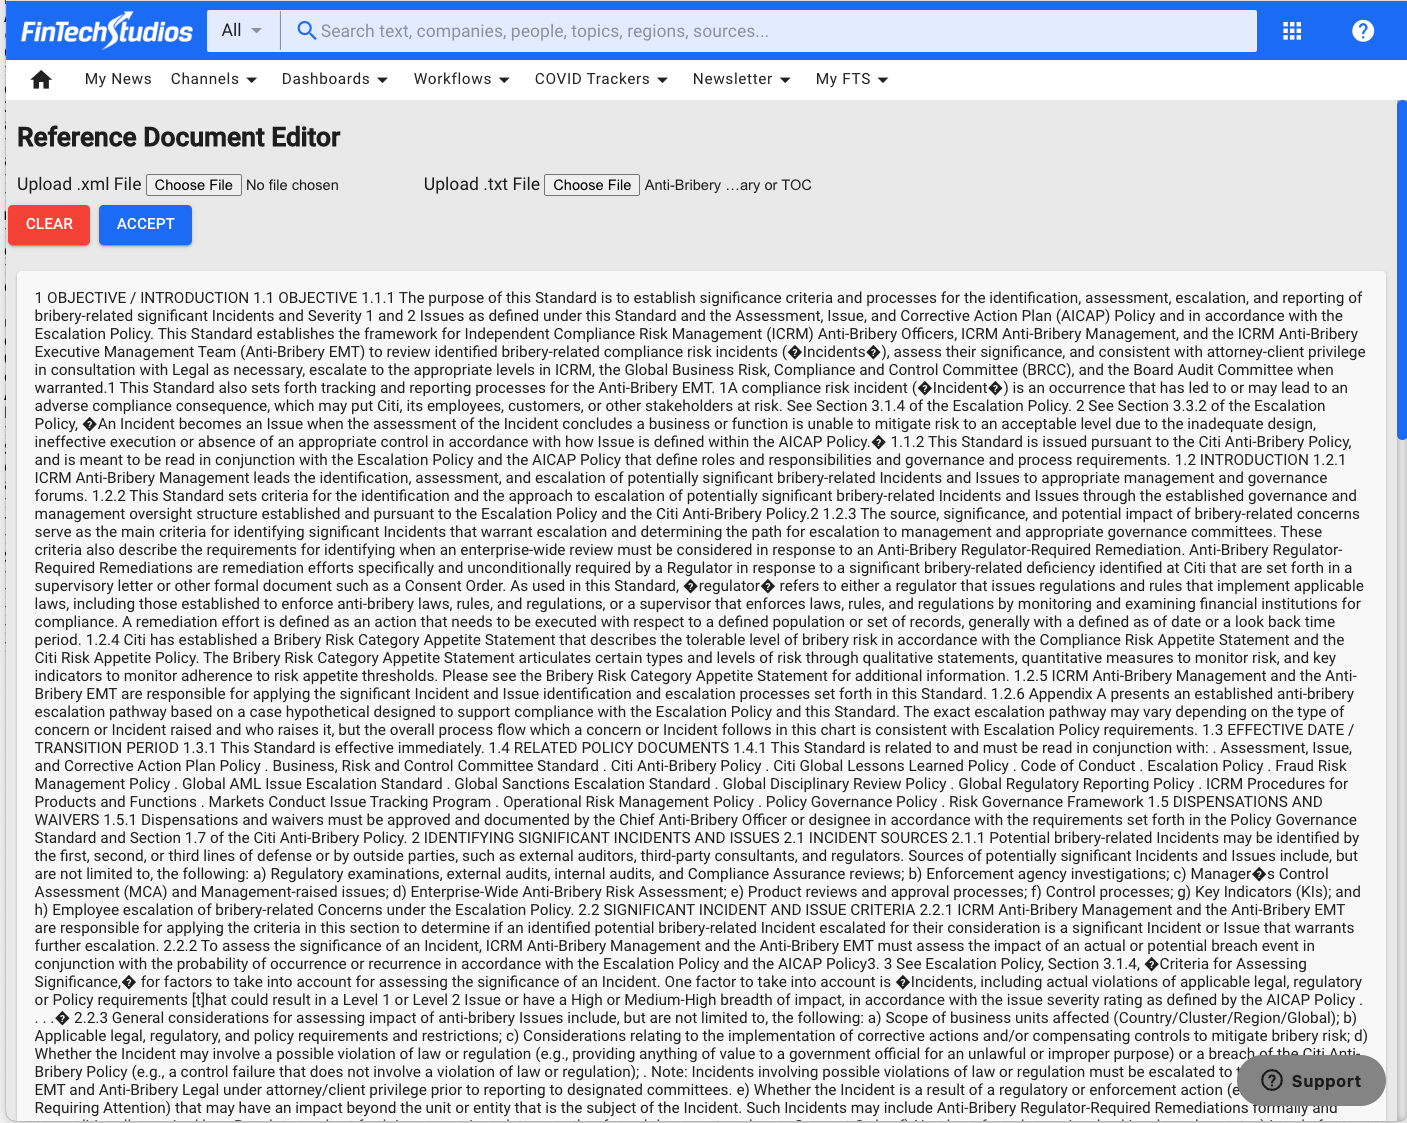
Click on “ACCEPT”
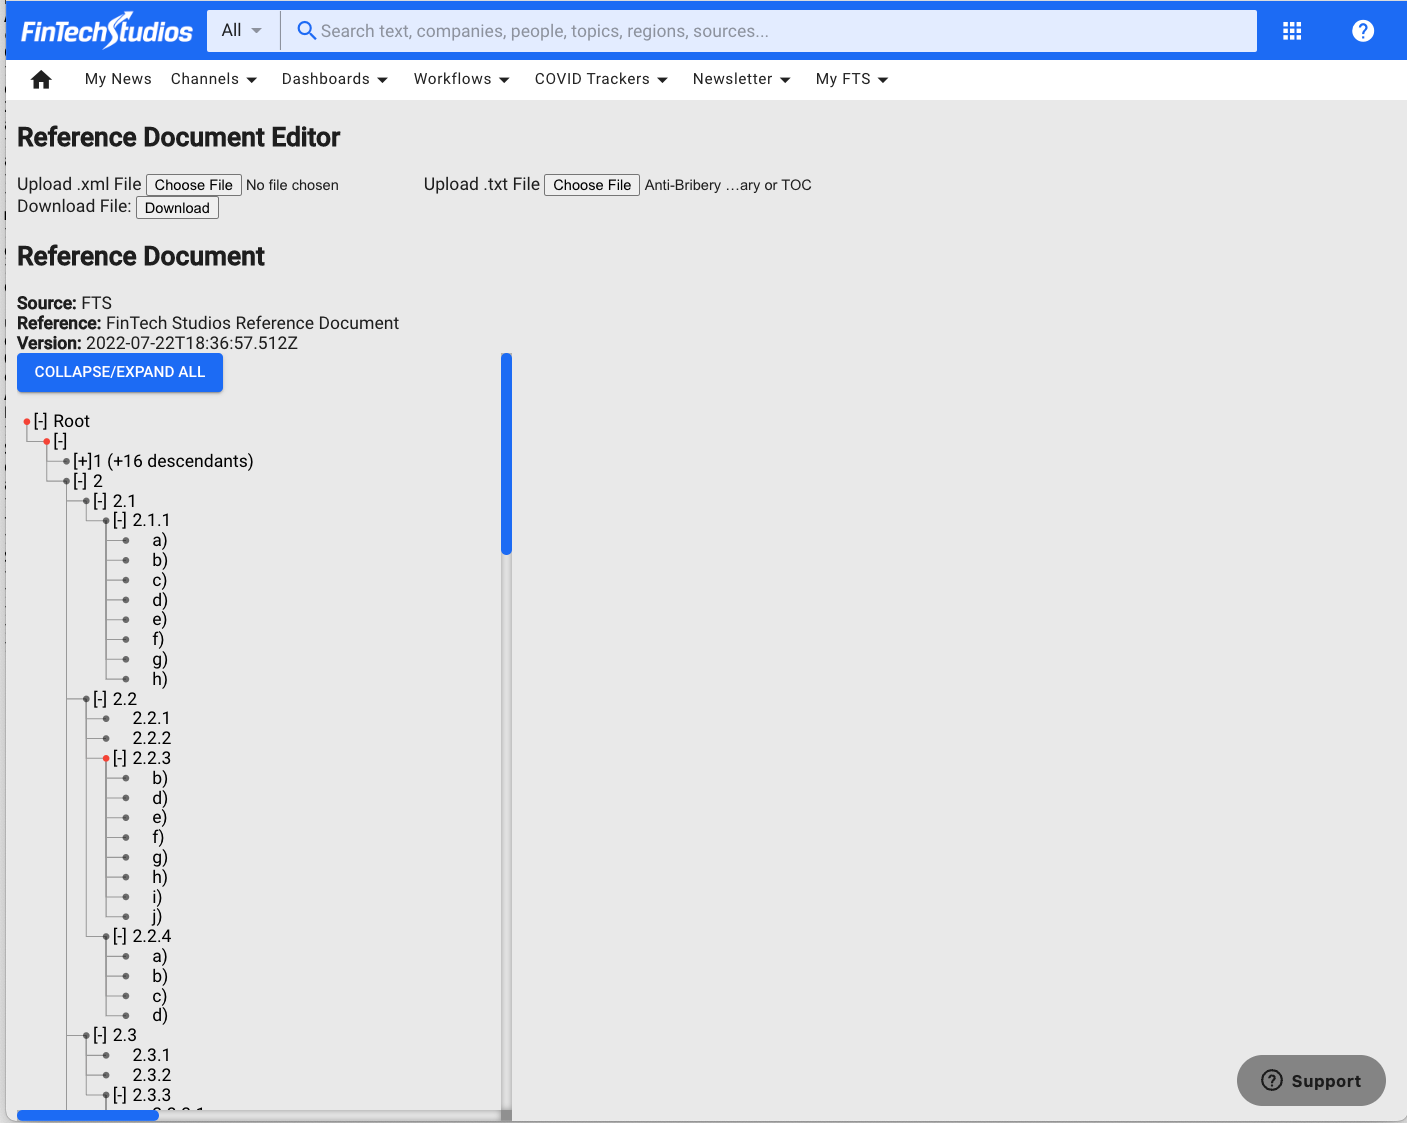
Once the document is loaded, it should look like this:
Step 5 – QA the accuracy of the document
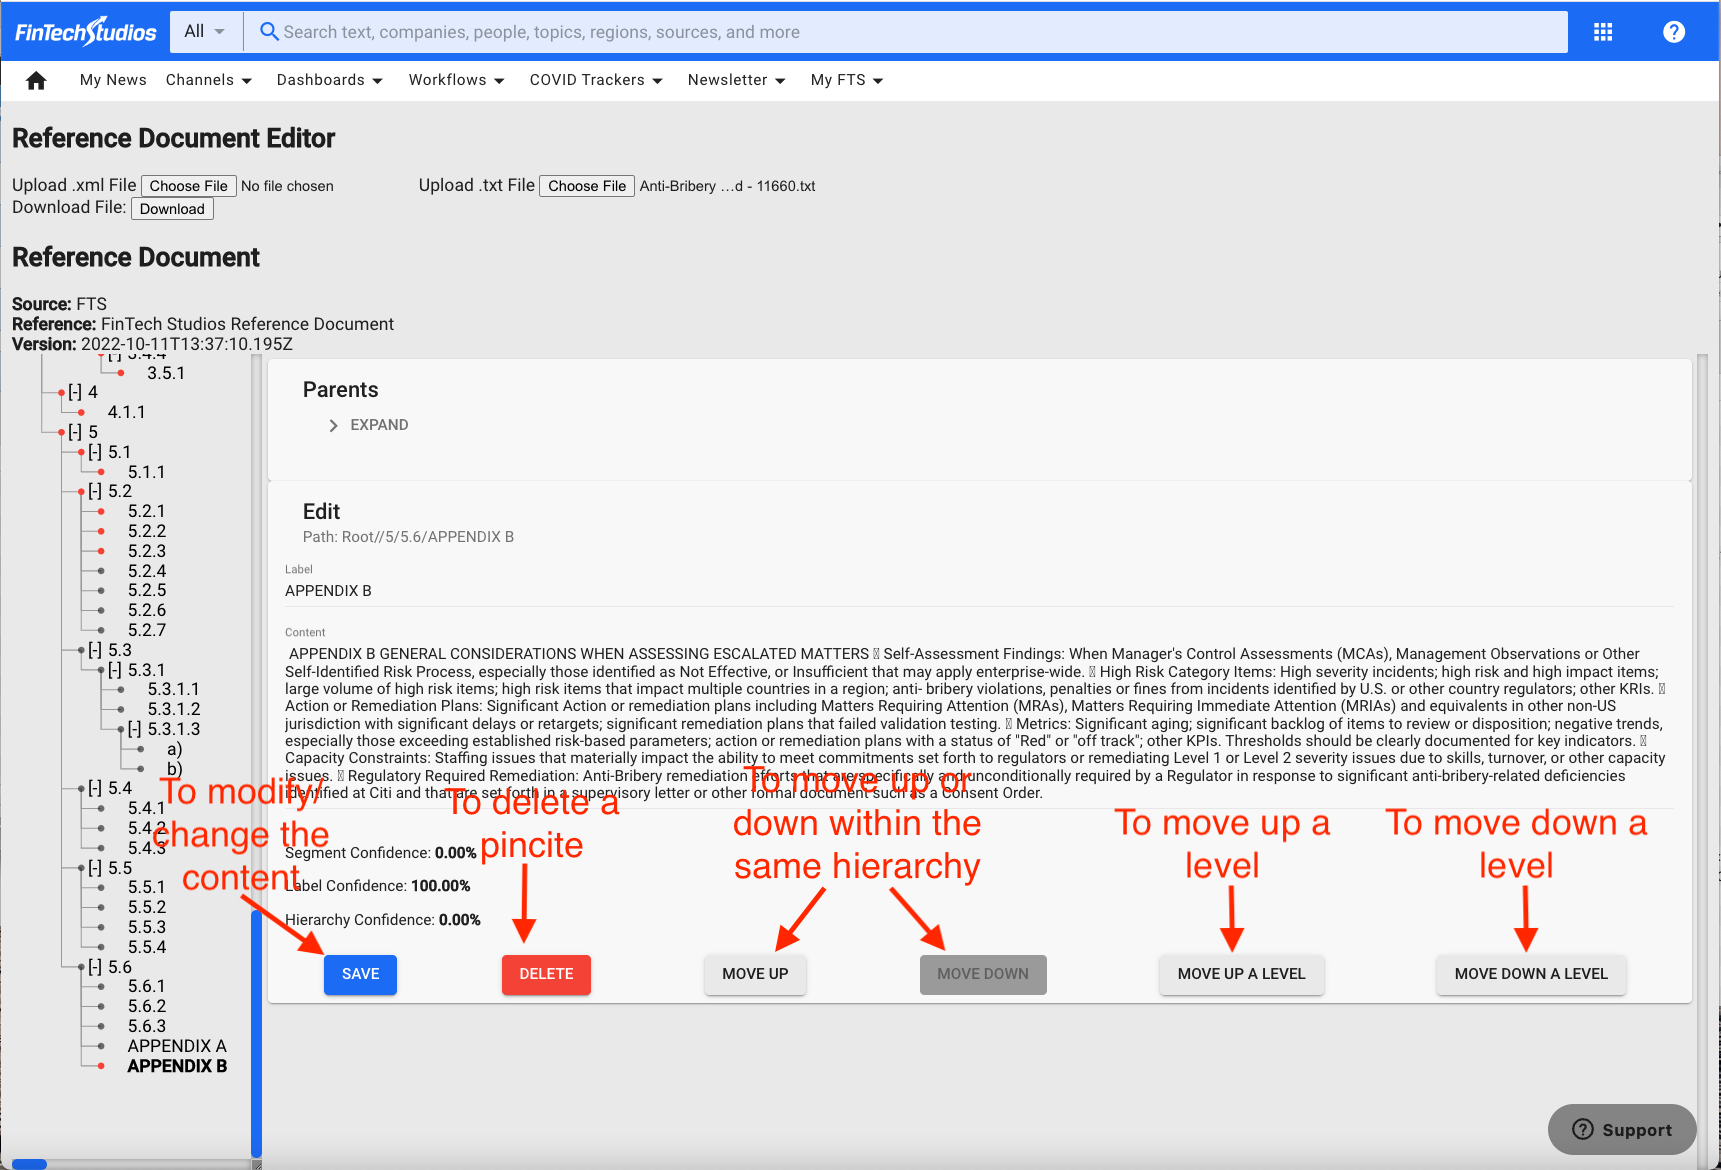
Using the PDF as guidance, start comparing each of the different pincites generated by the Refdoc Editor.
- To MODIFY a pincite: click on the text that needs to be modified/changed, adjust what is needed, and then click on “SAVE”.
- To DELETE a pincite: click on the text that needs to be deleted and then click on “DELETE”. To delete a whole a section, click on the parent, and then click on “DELETE”, it will delete the parent pincite with its children.
- To MOVE UP a pincite within the same hierarchy: click on the text that needs to be moved and then click on “MOVE UP”
- To MOVE DOWN a pincite within the same hierarchy: click on text that needs to be moved and then click on “MOVE DOWN”
- To move a pincite a level up, click on “MOVE UP A LEVEL”
- To move a pincite a level down, click on “MOVE DOWN A LEVEL”
Note
After making a change in the Refdoc Editor click on the upper left button “Download File: Download”. This will save the changes made to the document in XML file.
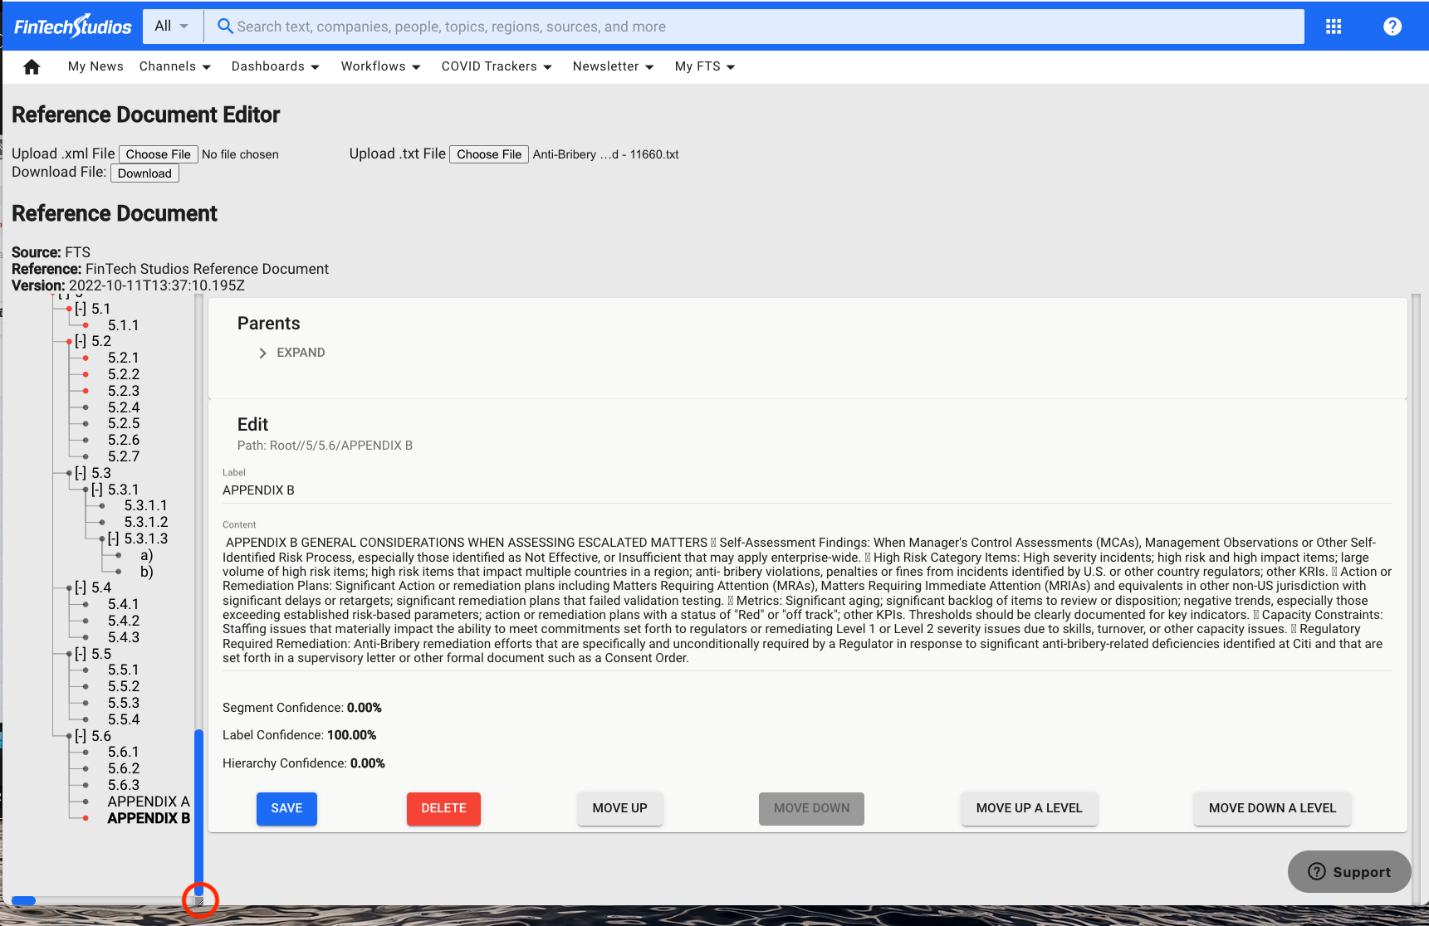
To ADD a pincite: click on the circular node on the left side of the pincite, the left side of the screen will look like this:

Where is says “Label” add the title/heading of the missing content. Where is say “Content” add the full text of the missing content. When adding pincites, think of it as Parent-Sibling or Parent-child relationship. Do I need to create a sibling? Do I need to create a child? Based on the answer:
- If the pincite needs to be added as a prior sibling of the node, click on “SAVE AS PRIOR SIBILING”.
- If the pincite needs to be added a next sibling of the node, click on “SAVE AS NEXT SIBILING”
- If the pincite needs to be added as a child of the node, click on “SAVE AS CHILD”
- If the pincite needs to be added as a parent of the node, click on “SAVE AS PARENT”
- If the pincite need to be added moving down an entire level underneath the Parent, click on “INSERT AS NEW CHILD”.
Note
After making a change in the Refdoc Editor click on the upper left button “Download File: Download”. This will save the changes made to the document in XML file.
To expand or contract the hierarchy visualization on the left side of the Refdoc Editor, click on the little square and draft to the left or right to adjust the size of it.
Tip
- Sometimes there is missing content in the Refdoc Editor. Compare with the original PDF to confirm. If so, go to the TextEdit/Text and look for the text, copy and paste the missing part in the corresponding pincite section and add it.
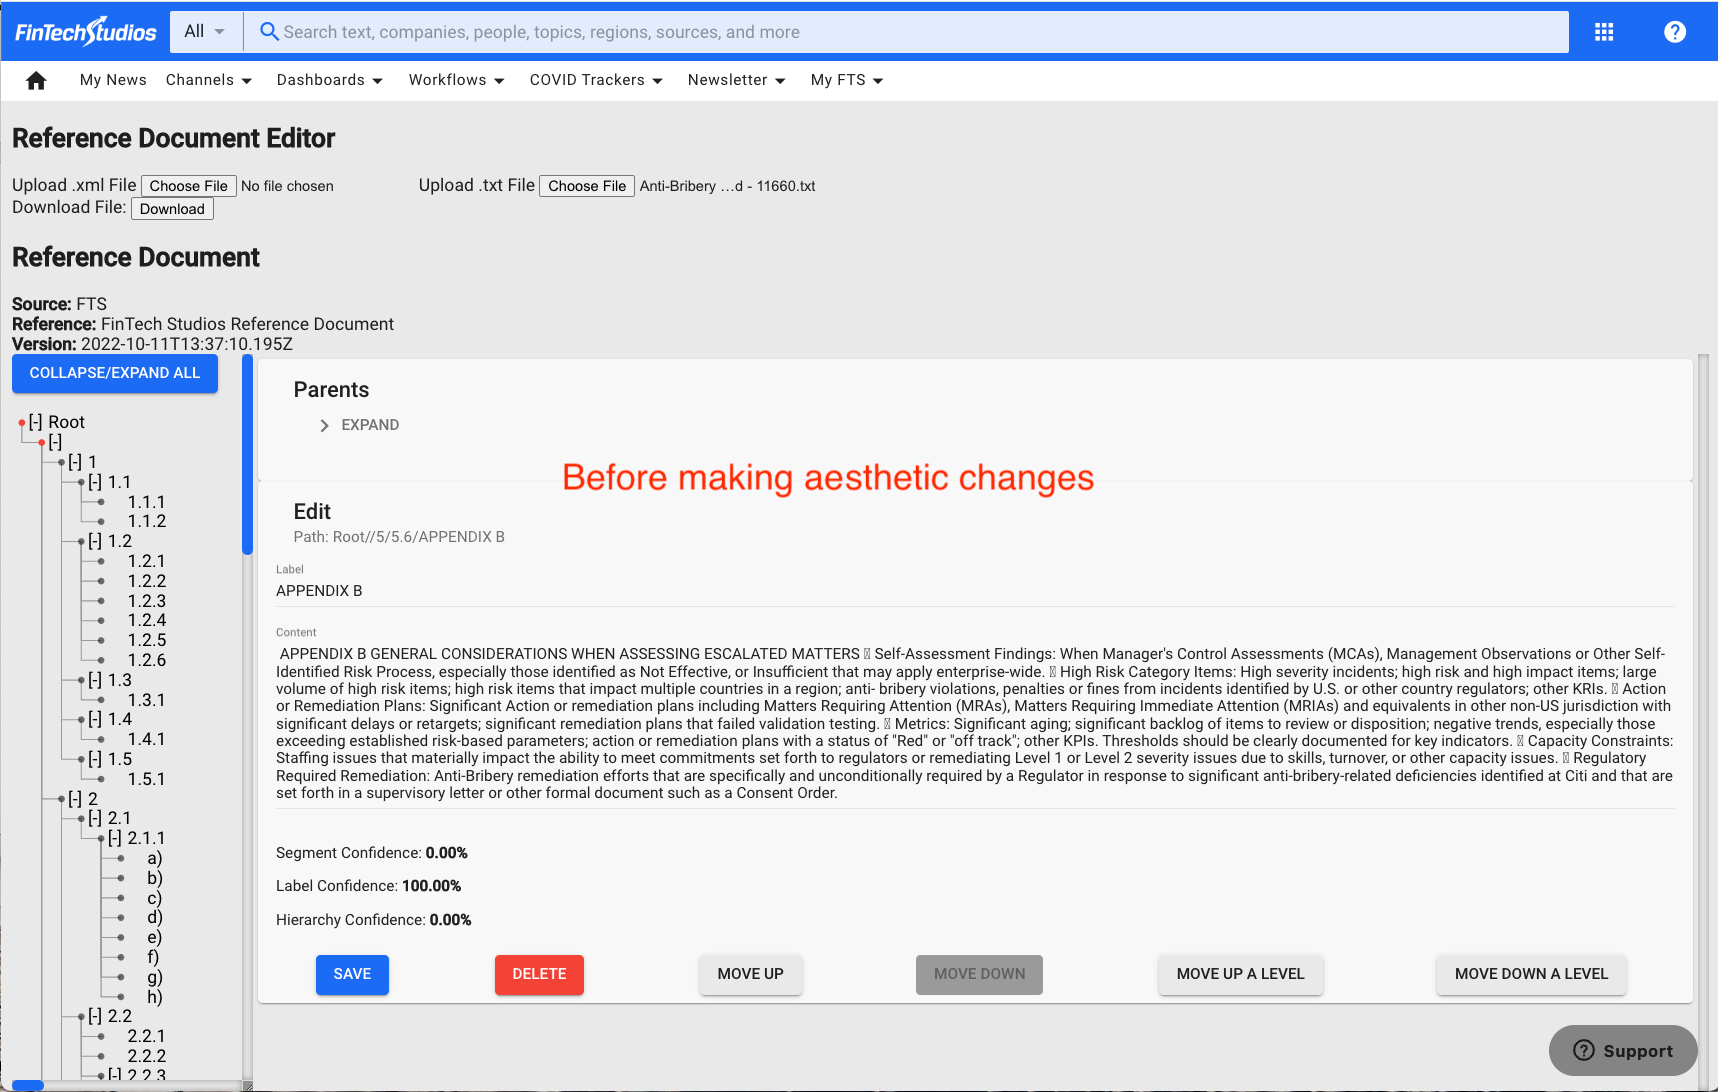
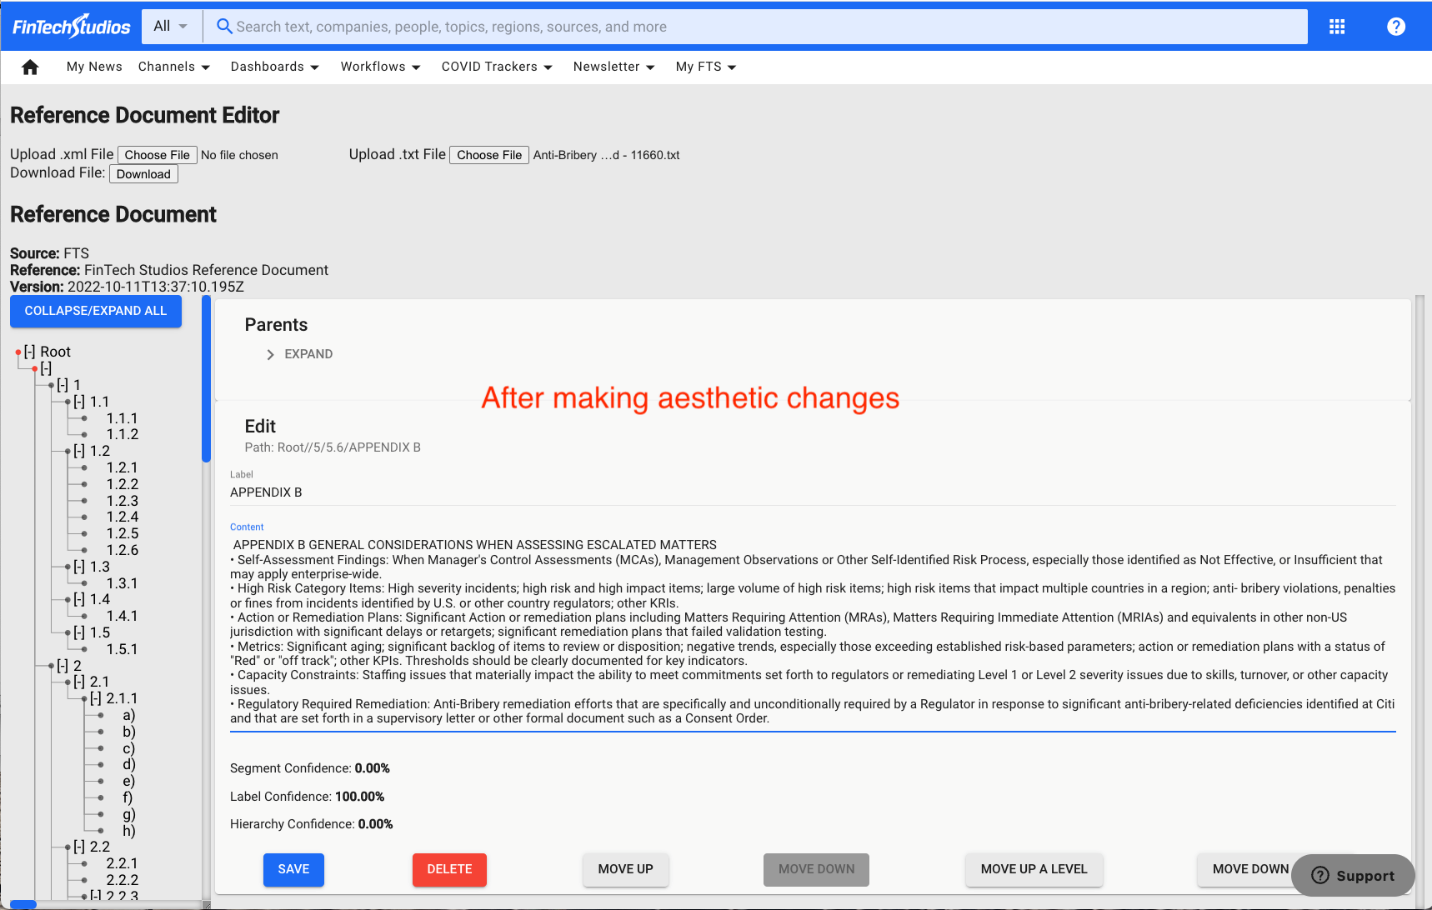
- Try to make the document in the Refdoc Editor as aesthetically similar as it is in the PDF. For example, add a space between the heading title and the rest of the text, add space between each bullet point and/or add bullet points.
Before changes:
After changes:
- Sometimes it is easier to start from the bottom of the regulation and move the way up.
- When adding a new pincite, the newly added pincite will not be visible:

- To make it visible, click on the square that looks like this “[-]” to expand/collapse the parent-children. This will make the newly added pincite visible:
